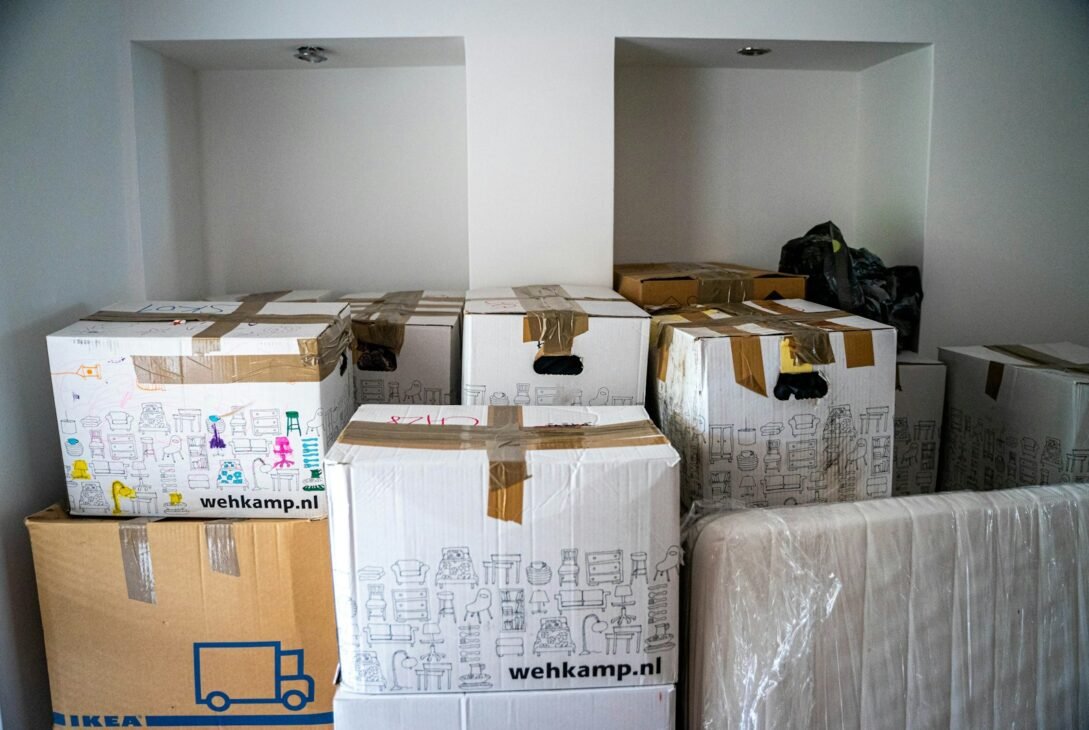
Every DIY project leaves materials that might be useful someday. Most people shove these into boxes and never find them again when needed.
A home material library organizes leftover supplies systematically. This professional approach transforms random accumulation into an accessible resource that actually gets used.
1. Why Most Material Storage Fails
Random boxes in garages and basements create invisible inventory. You can’t use materials you don’t know you have or can’t find.
Additionally, poor storage damages materials before you need them. Paint dries out, wood warps, fabric yellows, and hardware rusts.
Buying duplicates of materials you already own wastes hundreds yearly. Proper organization prevents this unnecessary spending completely.
Research from professional designers shows they save 15-20% on project costs through effective material libraries. Homeowners can achieve similar savings.
2. What Belongs in Your Material Library
A material library holds reusable supplies from completed projects plus intentional inventory of versatile materials. Not everything deserves permanent storage though.
Keep full or nearly-full containers. Half-empty paint cans dry out before use while full cans stay fresh for years.
Store quality hardware, fasteners, and connectors sorted by type. These small items add up to significant value over time.
Preserve wood cutoffs longer than 12 inches if you have space. Smaller pieces rarely justify storage space they consume.
| Material Category | Keep If | Discard If | Storage Method |
|---|---|---|---|
| Paint | Half-full or more, less than 5 years old | Dried, separated, or ancient | Original cans, labeled with room used |
| Wood | 12″+ length, no major defects | Warped, split, or too small | Vertical rack, sorted by length |
| Fabric | 1+ yard, quality material | Stained, worn, or tiny scraps | Clear bins, folded and labeled |
| Hardware | Complete sets, reusable condition | Rusted, bent, or incomplete | Compartment organizers, sorted by type |
| Tile | Full boxes or 10+ matching pieces | Random singles, chipped | Boxes stacked, clearly labeled |
These guidelines prevent hoarding while maintaining genuinely useful material inventory.
3. Setting Up Your Library Space
Choose a dedicated location with appropriate environmental conditions. Basements and garages work if they’re dry and temperature-stable.
Install sturdy shelving that accommodates your specific materials. Industrial metal shelving handles heavy items better than cheap wire racks.
Ensure adequate lighting for identifying materials quickly. You won’t use your library effectively if you can’t see what you’re looking for.
Allow workspace near storage for measuring, cutting, or testing materials. A library you can work in gets used far more than pure storage.
4. The Cataloging System
Professional material libraries use numbering systems that track every item. Adapt this approach to make your home library equally functional.
Assign each category a letter code: P for paint, W for wood, F for fabric, H for hardware, T for tile.
Number items within categories chronologically as you add them. Your fifth paint can becomes P-005, your twelfth wood piece becomes W-012.
Create a simple spreadsheet tracking codes, descriptions, quantities, and locations. Update it whenever materials enter or leave your library.
5. Paint Storage and Organization
Paint requires specific handling to stay usable for years. Poor storage ruins even expensive paint within months.
Store cans upside down briefly to create an airtight seal, then flip right-side up. This prevents skin formation on paint surface.
Label each can clearly with room/location used, date purchased, and color name or code. “Living room – SW 7006 – March 2023” beats mystery cans.
Keep touch-up sized samples in small jars labeled identically. These make tiny repairs easier without opening full cans unnecessarily.
6. Wood and Lumber Organization
Vertical storage prevents warping while consuming minimal floor space. Lean wood against walls in purpose-built racks rather than stacking horizontally.
Sort by length and type. Keep hardwoods separate from softwoods, and group similar lengths together for easy visual scanning.
Label each piece with species and dimensions using permanent marker on one end. This eliminates measuring every board when selecting materials.
Allow air circulation around wood storage. Plastic wrapping or tight enclosures trap moisture that damages wood even in dry environments.
7. Fabric and Soft Materials
Clear plastic bins protect fabric from dust, moisture, and pests while keeping contents visible. Opaque containers guarantee you’ll forget what’s inside.
Fold fabrics uniformly rather than cramming randomly. Neat folding prevents permanent creases and makes estimating yardage possible without unfolding.
Label bins with fabric type, approximate yardage, and source project. “Upholstery – 3 yards – Living room redo 2023” provides complete context.
Include a small sample card attached to bin exterior. This lets you match fabrics without opening containers during project planning phases.
8. Hardware and Small Parts Organization
Small parts vanish into chaos without systematic compartment storage. Invest in quality organizers with multiple adjustable dividers.
Sort hardware by type first, then by size. All screws together, all nails together, all brackets together creates intuitive organization.
Label each compartment clearly using a label maker. “1-1/4″ drywall screws” beats staring at dozens of similar-looking fasteners guessing which is correct.
Keep a magnetic tray at your workspace for collecting hardware during projects. Transfer these to proper library locations after project completion.
| Hardware Category | Organization Method | Retrieval Time | Space Required |
|---|---|---|---|
| Screws and nails | Compartment boxes, sorted by size | Under 30 seconds | 2-3 cubic feet |
| Brackets and hangers | Pegboard or bins, grouped by function | Under 1 minute | 4-6 cubic feet |
| Electrical supplies | Drawer organizers, sorted by type | Under 45 seconds | 1-2 cubic feet |
| Plumbing fittings | Clear bins, grouped by material | Under 1 minute | 2-3 cubic feet |
Efficient organization means spending seconds finding materials rather than minutes searching frustratedly.
9. Creating Material Sample Cards
Professional designers maintain sample cards showing materials at a glance. Create your own system for quick reference during planning.
Cut small swatches of fabrics, wood pieces, or paint dabs on labeled cards. Store these together in a binder or card file.
Include relevant information on each card: material type, quantity in library, location code, purchase date, and original project.
Bring sample cards when shopping for coordinating materials. Having exact color and texture references prevents purchasing mismatched items.
10. Seasonal Library Maintenance
Schedule quarterly reviews of your material library. This prevents outdated accumulation and keeps inventory accurate for planning.
Discard dried paint, deteriorated materials, and items you’ve kept but never used. Honesty about what you’ll actually use prevents hoarding behavior.
Update your catalog to reflect current inventory. Remove used items, add new acquisitions, and correct any labeling errors discovered.
Reorganize sections that have become cluttered through repeated use. Libraries need ongoing maintenance to stay functional long-term.
11. Maximizing Library Value
Your material library only saves money if you actually use it. Build habits that integrate the library into project planning naturally.
Before buying anything for projects, check your library first. This simple step prevents purchasing materials you already own.
Photograph your library sections periodically. Having photos on your phone lets you check inventory while shopping without visiting the library physically.
Share library contents with family members working on projects. Multiple people using the library maximizes return on organizational effort invested.
Building Your Material Library System
A well-organized material library transforms leftover supplies from guilt-inducing clutter into valuable resources. The initial organization effort pays dividends for years.
Start by sorting all current material accumulation into keep and discard piles. Be ruthless about items you’ll realistically never use.
Set up one category completely before moving to the next. Master paint organization, then tackle wood, then fabric, rather than half-completing everything.
Your material library grows more valuable over time. Each project adds inventory while successful reuse proves the system’s worth repeatedly.
Stop letting useful materials deteriorate in boxes. Organize them once and benefit from professional-level resource management for every future project.