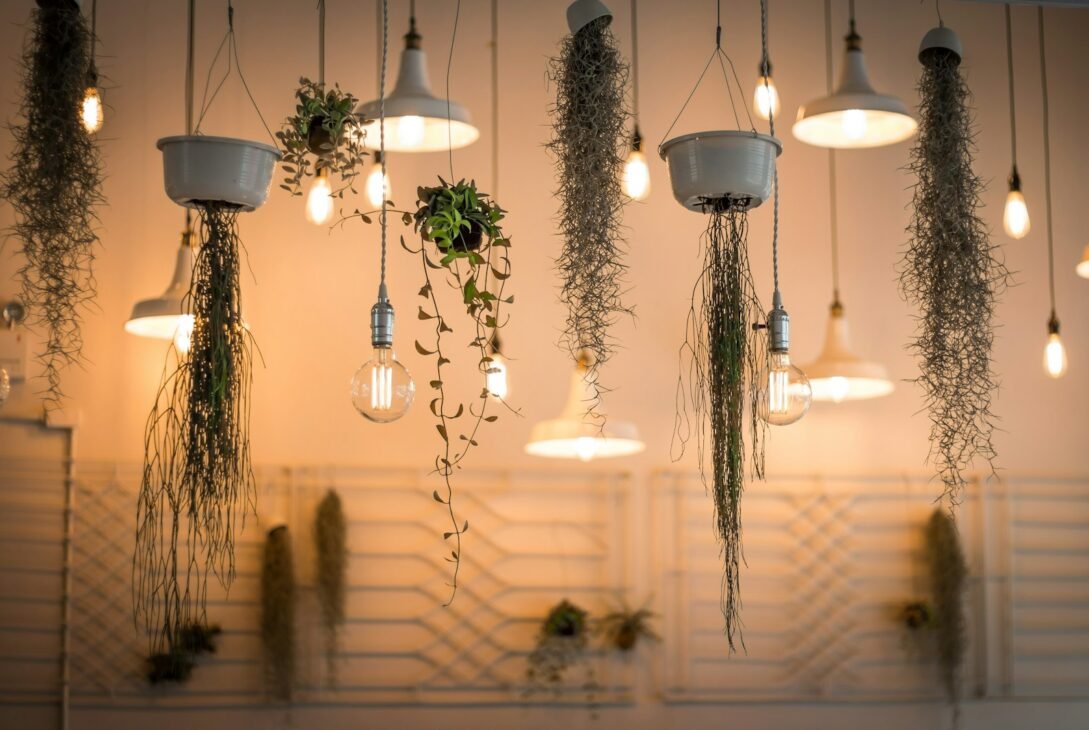
Single overhead lights create flat, uninviting spaces. The lighting layer method uses three distinct light types to transform how rooms look and feel.
This professional design technique makes spaces dramatically more comfortable and functional. Moreover, it costs far less than you’d think to implement properly.
1. Why Single-Source Lighting Fails
Most homes rely on ceiling fixtures as primary lighting. This creates harsh shadows, unflattering ambiance, and inadequate task lighting simultaneously.
Overhead-only lighting flattens rooms visually. Without varied light sources, spaces lack depth and dimension that make them feel welcoming.
Additionally, single switches force all-or-nothing lighting choices. You need bright light for some activities but want dim light for others in the same space.
Research from the Lighting Research Center found that layered lighting improves mood by 34% compared to single-source overhead illumination.
2. Understanding the Three Lighting Layers
Professional lighting design always incorporates ambient, task, and accent lighting. Each layer serves distinct purposes that combine for optimal illumination.
Ambient lighting provides general illumination for the entire room. This is your base layer that makes spaces usable without additional lights.
Task lighting focuses bright light on specific activities. Reading, cooking, desk work, and grooming all need concentrated illumination beyond ambient levels.
Accent lighting highlights architectural features, artwork, or design elements. This decorative layer adds visual interest and creates atmosphere intentionally.
3. Ambient Lighting Installation
Ceiling fixtures remain the primary ambient light source in most rooms. However, choosing the right fixture type matters tremendously for effectiveness.
Recessed lighting works excellently for ambient layers. Space fixtures 4-6 feet apart in grid patterns covering the entire ceiling area.
Central ceiling fixtures suit rooms with defined gathering areas. Choose fixtures with diffusers that spread light broadly rather than focusing downward harshly.
Consider indirect ambient lighting for softer effects. Uplights bouncing off white ceilings create gentle, shadowless illumination that feels comfortable for extended periods.
| Room Type | Ambient Lighting | Recommended Brightness | Fixture Spacing |
|---|---|---|---|
| Living room | Recessed or central fixture | 1,500-3,000 lumens | 5-6 feet apart |
| Kitchen | Recessed grid | 4,000-8,000 lumens | 4 feet apart |
| Bedroom | Central fixture with dimmer | 2,000-4,000 lumens | Single central fixture |
| Bathroom | Recessed or flush-mount | 4,000-6,000 lumens | 4-5 feet apart |
| Home office | Recessed or indirect | 3,000-5,000 lumens | 5 feet apart |
These brightness levels provide comfortable ambient lighting without overwhelming other layers you’ll add subsequently.
4. Task Lighting Placement
Task lights belong wherever you perform focused activities. These should be adjustable to direct light exactly where needed.
Kitchen task lighting goes under cabinets illuminating countertops. LED strip lights work perfectly here, providing shadow-free work surface illumination.
Reading areas need adjustable floor or table lamps positioned to light pages without glare. Swing-arm designs let you direct light precisely.
Bathroom vanity task lighting must frame mirrors from both sides. Central overhead lights alone create terrible shadows on faces during grooming.
Desk task lighting should come from the side opposite your writing hand. This prevents shadows from your hand falling across your work.
5. Installing Under-Cabinet Task Lighting
Kitchen under-cabinet lighting transforms cooking functionality dramatically. This DIY installation typically takes 2-3 hours with basic electrical skills.
LED strip lights offer the easiest installation option. Peel-and-stick versions require no tools beyond scissors to cut strips to length.
Hardwired under-cabinet lights look cleaner but require running wire through cabinets. This moderate-difficulty project delivers professional results that last decades.
Place lights toward cabinet fronts rather than backs. This illuminates countertops where you work instead of wasting light at the backsplash.
6. Accent Lighting for Depth
Accent lights create visual interest by highlighting specific elements. These don’t add functional light but dramatically improve ambiance and perceived room quality.
Picture lights above artwork draw attention to favorite pieces. These small fixtures make art look gallery-quality in home settings.
Uplights behind furniture or plants create dramatic shadows and depth. This theatrical lighting trick adds sophistication to ordinary rooms immediately.
LED strip lights in shelving or behind TVs provide modern accent lighting. These subtle glows add ambiance without feeling gimmicky when done tastefully.
7. Creating Lighting Control Zones
Layered lighting only works if each layer has independent controls. Multiple switches or smart controls let you activate layers individually or combined.
Install separate switches for ambient, task, and accent lighting. This flexibility lets you customize lighting to activities throughout the day.
Add dimmer switches to ambient lighting especially. Dimming capability essentially multiplies your lighting options without adding fixtures.
Consider smart bulbs or switches for ultimate control flexibility. Programming scenes activates specific layer combinations with single commands.
| Control Method | Cost | Flexibility | Installation Difficulty |
|---|---|---|---|
| Multiple standard switches | $3-8 per switch | Low – on/off only | Easy |
| Dimmer switches | $15-40 per dimmer | Medium – adjustable brightness | Easy |
| Smart switches | $40-80 per switch | High – scenes and schedules | Moderate |
| Smart bulbs | $10-25 per bulb | Highest – individual control | Very easy |
Start with dimmers on ambient lighting. This single upgrade delivers enormous flexibility for minimal cost and installation effort.
8. Selecting Appropriate Bulb Color Temperature
Color temperature dramatically affects room ambiance. Matching temperatures to functions makes spaces feel naturally comfortable.
Ambient lighting should use 2700-3000K (warm white) in living spaces. This temperature feels welcoming and relaxing for extended periods.
Task lighting benefits from 3500-4100K (neutral white) providing clarity without harshness. This slightly cooler temperature improves focus and reduces eye strain.
Accent lighting can use warmer temperatures (2200-2700K) for dramatic effects. These amber tones create atmosphere without interfering with functional lighting layers.
Never mix drastically different color temperatures in the same room. The contrast feels jarring and unprofessional regardless of individual fixture quality.
9. Budget-Friendly Layer Implementation
Proper lighting layers don’t require expensive designer fixtures. Strategic placement matters more than fixture cost for creating effective illumination.
Start with ambient layer improvements. Replace builder-grade ceiling fixtures with better options or add dimmers to existing switches.
Add task lighting next using affordable clip-on or plug-in fixtures. These require zero installation while delivering immediate functional improvement.
Finally, incorporate accent lighting using budget LED strips or uplights. These cost under $30 each but create disproportionate visual impact.
10. Room-Specific Lighting Layer Examples
Different rooms need customized layer implementations based on activities. Understanding typical patterns helps you design effective lighting for your spaces.
Living room layers:
- Ambient: Recessed ceiling lights on dimmer
- Task: Reading lamps beside seating
- Accent: Picture lights, uplights behind plants
Kitchen layers:
- Ambient: Recessed ceiling grid
- Task: Under-cabinet strips, pendant over island
- Accent: Inside-cabinet lighting, toe-kick lights
Bedroom layers:
- Ambient: Central fixture with dimmer
- Task: Bedside reading lamps, closet lights
- Accent: Wall sconces, backlit headboard
These examples demonstrate how three layers combine to create comprehensive lighting that handles all room functions beautifully.
11. Testing and Adjusting Your Layers
After installing layered lighting, test different combinations throughout daily activities. This reveals adjustments needed for optimal functionality.
Try each layer independently first. Verify that ambient alone provides adequate general lighting and task lights illuminate work areas properly.
Test all layers together at full brightness. This maximum configuration should feel too bright, giving you dimming headroom for different moods.
Experiment with dimmed combinations throughout typical daily routines. You’ll discover preferred settings for morning, afternoon, evening, and night naturally.
Transforming Your Home with Light Layers
The lighting layer method changes spaces more dramatically than any other single home improvement. Proper illumination makes rooms feel larger, more comfortable, and intentionally designed.
Start with your most-used room this month. Add or improve one layer at a time rather than attempting complete transformation simultaneously.
Notice how each layer addition improves the space functionally and aesthetically. This incremental progress motivates completing the system.
Your home deserves lighting that adapts to life rather than forcing you to adapt to poor illumination. Three simple layers create that flexibility affordably.