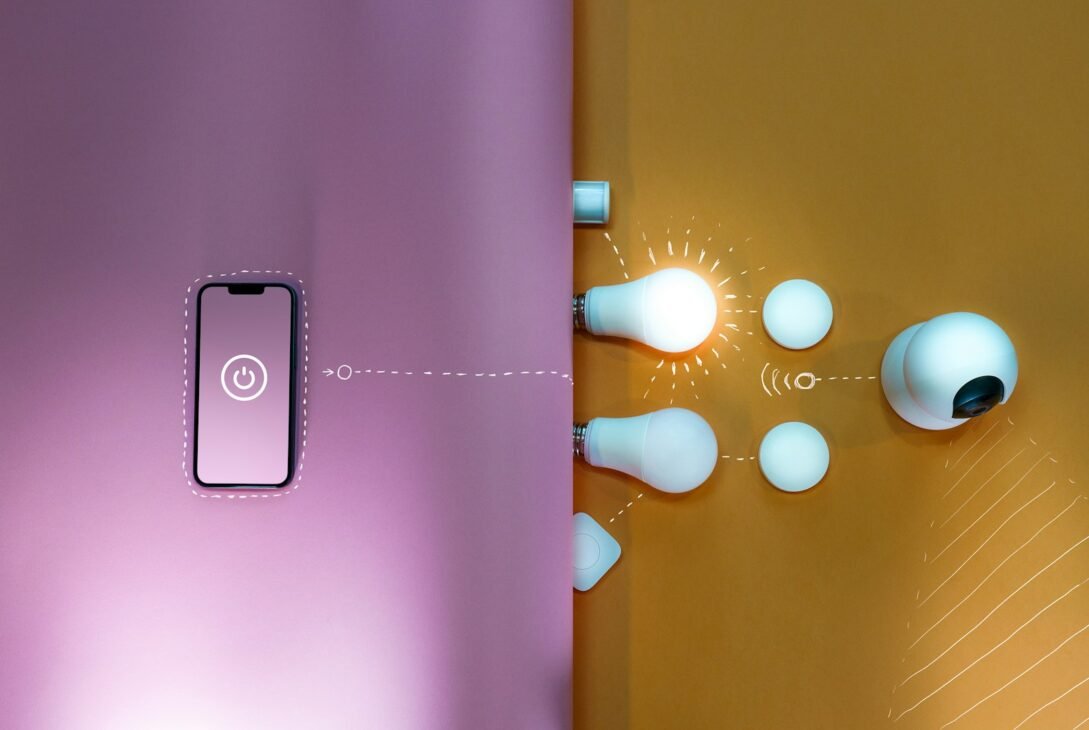
Smart homes promise convenience but deliver app chaos instead. A physical home dashboard consolidates control into one beautiful, tactile analog interface.
This approach eliminates fumbling through phone apps while adding functional art to your wall. Moreover, it makes smart home features accessible to everyone, not just tech-savvy family members.
1. Why Smart Home Apps Fail
The average smart home uses 7-12 different apps to control various devices. Finding the right app wastes more time than manually flipping switches.
Additionally, apps require phone unlocking, loading time, and navigation through menus. What should take one second takes fifteen frustrating ones instead.
Guests and elderly family members can’t intuitively control your home either. They’re stuck asking for help with basic functions like adjusting lights.
Research from Parks Associates found that 23% of smart home device owners rarely use features because app interfaces prove too complicated.
2. What Makes a Dashboard “Analog”
Analog dashboards use physical controls—switches, dials, buttons—instead of touchscreens. Your fingers feel feedback when activating controls rather than tapping glass.
These aren’t dumb switches though. Behind the scenes, they trigger digital smart home commands while presenting physical interfaces users understand instinctively.
Think airplane cockpit aesthetics meeting modern smart home functionality. Every control has clear purpose and provides satisfying tactile feedback when used.
The paradox works beautifully: analog interfaces controlling digital systems create better user experiences than digital controlling digital.
3. Choosing Your Dashboard Location
Your home dashboard needs high-traffic wall space where everyone passes frequently. Near the main entry or central hallway works perfectly.
Avoid hiding it in utility rooms or offices. The dashboard should be as prominent as your thermostat since it serves similar household-wide functions.
Ensure electrical outlets exist nearby for power. Most dashboards need constant power for connected components and backlit displays.
Additionally, consider Wi-Fi signal strength at the location. Your dashboard communicates with smart devices wirelessly so strong connectivity matters tremendously.
4. Essential Dashboard Components
Start with controls for systems you adjust most frequently. Overloading your dashboard with rarely-used functions defeats its simplification purpose.
Core dashboard controls:
- Lighting scenes (not individual lights, but preset combinations)
- Temperature zones (main floor, upstairs, basement separately)
- Security system arming/disarming
- Garage door status and control
- Music/audio system selection
- Common device power (fans, humidifiers, coffee makers)
These cover 90% of daily smart home interactions. Everything else can stay in apps for occasional access.
5. Physical Switch Integration
Modern smart switches exist that look and feel like traditional toggles but communicate wirelessly. These provide the best of both worlds perfectly.
Lutron Caseta switches offer this functionality beautifully. Install them in your dashboard enclosure and program each to control specific scenes or devices.
Wire multiple switches together in a custom panel. This creates your analog dashboard while maintaining full smart home integration behind the scenes.
The result looks like a vintage electrical panel but controls your entire modern smart home. Visitors consistently ask where you found such cool hardware.
| Control Type | Best For | Cost Per Unit | Installation Difficulty |
|---|---|---|---|
| Toggle switches | Lights, fans, on/off devices | $40-70 | Moderate (requires wiring) |
| Rotary dials | Dimmers, thermostats, volume | $60-100 | Moderate (requires wiring) |
| Push buttons | Scenes, modes, momentary actions | $30-50 | Easy (low voltage) |
| Indicator lights | Status display, alerts | $5-15 | Easy (low voltage) |
Mixing control types creates intuitive dashboards where form immediately suggests function. Dials obviously control gradual adjustments while buttons trigger instant actions.
6. Creating Scene Control Buttons
Individual device control becomes overwhelming fast. Instead, program scene buttons that activate multiple devices simultaneously with one press.
“Good Morning” scene might turn on kitchen lights, start coffee maker, adjust thermostat, and open bedroom blinds. One button orchestrates everything.
“Movie Night” scene dims living room lights, closes smart blinds, turns on TV and sound system, all with a single physical button press.
Label each scene button clearly with engraved text or printed labels. Anyone should understand what each button does without asking or experimenting.
7. Building the Physical Dashboard Frame
Use a shadow box frame or custom wooden panel as your dashboard housing. This creates a finished, furniture-quality appearance rather than exposed electronics.
Mount all switches, buttons, and dials to the backing board before hanging. Pre-wire everything on your workbench rather than working vertically on walls.
Paint or stain the frame to match your home’s aesthetic. The dashboard should look intentional and designed, not like a hacky DIY project.
Add a hinged front panel if hiding wiring appeals to you. This lets you access the backend for maintenance while keeping everything clean-looking normally.
8. Integrating Status Indicators
Beyond controls, add LED indicators showing system status at a glance. These answer questions before you even think to ask them.
Green lights show armed security system, red shows disarmed. Yellow indicators show garage doors open, off means closed.
Use addressable RGB LEDs that change color based on status. A temperature indicator glowing blue means cooling mode, red means heating.
These status lights provide enormous value. You check dashboard status from across the room rather than walking over and activating controls.
9. The Hub-and-Spoke Architecture
Your dashboard connects to a central smart home hub (Home Assistant, Hubitat, or SmartThings). The hub communicates with all your actual smart devices.
This architecture means adding new devices doesn’t require dashboard modification. The hub handles device communication while the dashboard stays focused on controls.
Program the hub to respond to dashboard inputs. When you flip a physical switch, the hub receives that signal and executes pre-programmed actions.
Consequently, your dashboard stays simple while backend complexity grows. Users never see or worry about the technical infrastructure supporting everything.
10. Making It Family-Friendly
Test your dashboard with the least tech-savvy family member. If they can’t figure it out immediately, simplify until they can.
Add small descriptive labels below each control explaining what it does. “Movie Lights” beats “Scene 3” for intuitive understanding.
Create a quick-reference card that lives near the dashboard initially. This helps during the learning period before muscle memory develops.
| Dashboard Element | User-Friendly Label | What It Actually Controls Behind Scenes |
|---|---|---|
| Top left dial | “Downstairs Lights” | Living room, kitchen, dining room dimmer group |
| Center button | “Movie Mode” | Scene: dim lights 20%, close blinds, turn on TV |
| Right toggle | “All Off” | Master shutoff for lights, fans, non-essential devices |
| Bottom indicator | “Doors” (green/red) | Garage door status plus front door lock status |
Clear labeling transforms a dashboard from intimidating to obvious for everyone in your household.
11. Maintenance and Updates
Physical dashboards need less maintenance than app-controlled systems. Mechanical switches last decades while apps require constant updates and break randomly.
Clean the dashboard quarterly with a dry microfiber cloth. Dust and grime accumulate on frequently-touched surfaces over months.
Test all controls monthly to ensure proper function. A switch that stops responding needs troubleshooting before you rely on it during an actual need.
Additionally, update your hub software regularly. The dashboard’s physical interface stays constant while backend software evolves and improves.
Creating Your Command Center
Building a home dashboard requires upfront effort but pays dividends daily. Every interaction becomes faster, simpler, and more satisfying than fumbling with apps.
Start with a simple four-switch panel controlling your most-used functions. Prove the concept before investing in elaborate custom dashboards.
Add controls gradually as you identify what you actually use frequently. Your dashboard grows organically based on real usage patterns.
The best smart home technology disappears into your life. A well-designed analog dashboard makes that disappearing act possible.